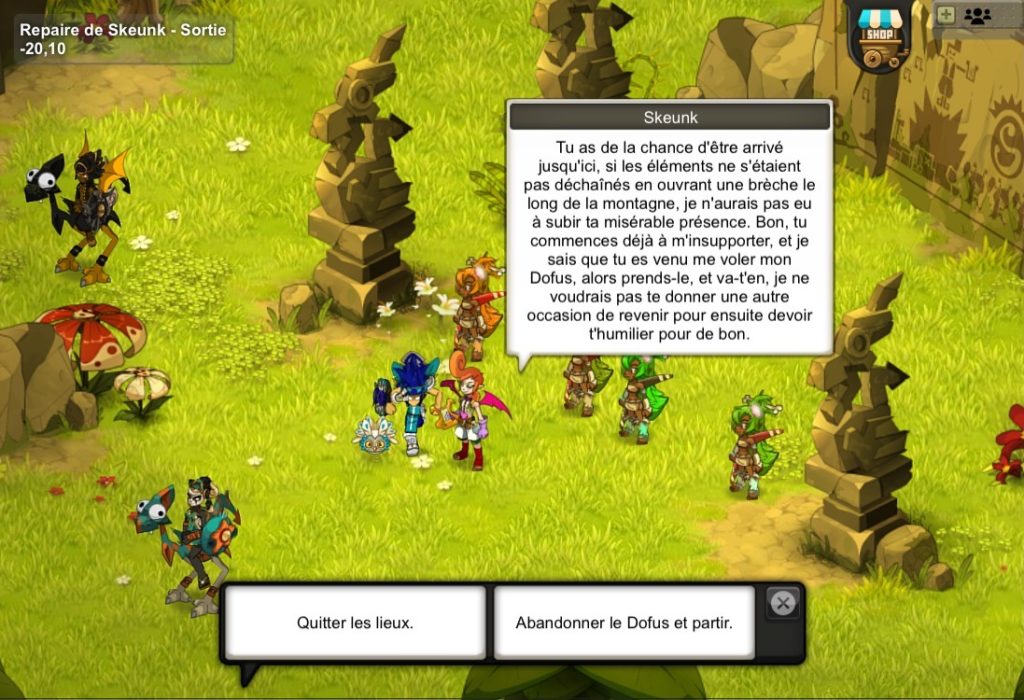
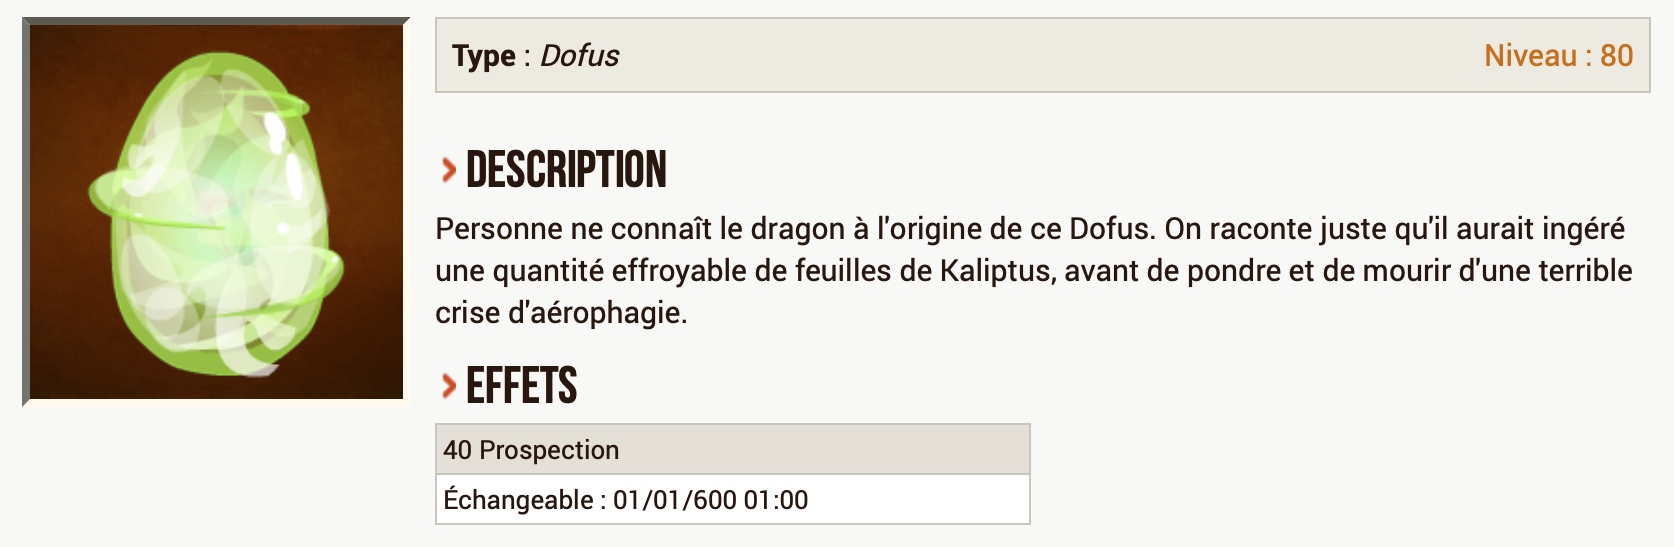
If you're here, it's most likely to get the Kaliptus Dofus.
To enter the dungeon, you first have to get there, and the road is very long! Luckily, Papycha has you covered with a map of the Path to the Skeunk Dungeon. Only one person needs to make the trip, and they can then teleport the rest of the group.
Before heading out, if you want to learn the Perfidious Boomerang spell (steals 31 to 40 in a random element at good range), talk to Diamondine while carrying 10x Brown Warko Boomerangs, 10x Koalak Master Boomerangs and 10x Dok Alako Boomerangs. They're expensive, but the spell is quite interesting.
Also, if you'd like an adorable and super handy little pet, bring a complete Koalak set (amulet, ring, bow, boots, cloak, belt, hat), which you can trade for a Bloody Koalak. It can give up to 200 Wisdom (220 with a hormone) and feeds on various boomerangs (one meal every 5 to 72 hours).
Monsters

Purple Warko
Warko Violet
Lvl 106 to 118

Reapalak
Fauchalak
Lvl 108 to 120

Koalak Warrior
Guerrier Koalak
Lvl 100 to 112

Bloody Koalak
Koalak Sanguin
Lvl 102 to 114

Ruby
Rubise
Lvl 120
Spells
| Name | Description | Range |
|---|---|---|
| Summoning of Healing Totem Invocation de Totem Soignant | Summons a Totem that heals around 200 HP. | — |
| Summoning of Motivating Totem Invocation de Totem Motivant | Summons a Totem that boosts its allies' characteristics and gives them 1 AP. | — |
| Summoning of Explosive Totem Invocation de Totem Explosif | Summons a Totem that explodes when an opponent gets close. | — |
| Totemization Totemisation | Turns the target in melee into a totem and removes 100 AP and 100 MP from it. | — |
| Spanking Bottage de Fesses | Pushes the target far back and can deal pushback damage. | — |

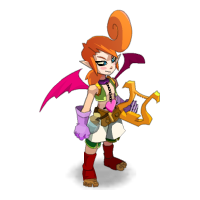
Diamondine
Diamantine
Lvl 120
Spells
| Name | Description | Range |
|---|---|---|
| Summoning of Lethal Doll Invocation de Poupée Mortelle | Summons a Lethal Doll that kills its target in melee and has a random elemental weakness. | — |

Emeralda
Émeraude
Lvl 120
Spells
| Name | Description | Range |
|---|---|---|
| Friendly Transposition Transposition Amicale | Swaps Emeralda's position with that of an ally. | — |
| Destructive Transposition Transposition Destructrice | Swaps Emeralda's position with that of an enemy. | — |
Rooms
Advice on the rooms can be found in the dungeon mechanics section.
Room 1
Room 2
Room 3
Boss
Skeunk ★
Lvl 120
Dungeon mechanics
Skeunk's Hideout is made up of three rooms. The first two let you learn the main threats before the final fight.
First room: Ruby
- Stay out of her melee range: she can turn you into a totem, remove your AP and MP, then push you back.
- Keep an eye on the Healing, Motivating and Explosive Totems she summons.
- Keep your distance and take Ruby down without letting her control the positioning.
Second room: Saphira
The priority is the Hungry Doll: she restores all of her allies' HP, and her 130% resistance makes her impossible to defeat normally.
- She starts with 4 AP.
- Get her up to 8 AP by giving her AP or by making her swallow summons.
- She gains 1 AP per summon swallowed, up to a maximum of two per turn.
- Once the Doll is dead, finish off Saphira despite her invisibility.
Final room: Skeunk
Once again, start with the Hungry Doll to remove the enemy team's full heals.
- Emeralda disrupts positioning and can send you into melee range of a Lethal Doll.
- Diamondine summons the Lethal Dolls, which can kill in melee.
- You can kill Emeralda first to stabilise positioning, or Diamondine first to quickly remove the risk of instant death.
- Once these threats are neutralised, focus your attacks on Skeunk.
Achievements
End of the dungeon
You've finally made it through — time to claim your rewards!
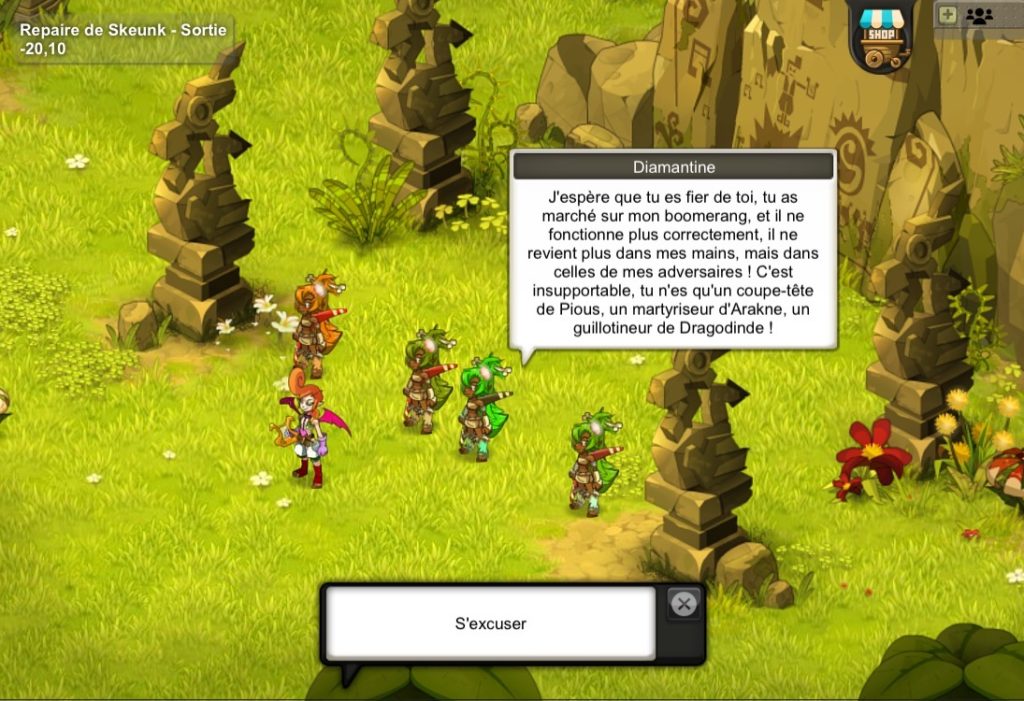
To get the "Perfidious Boomerang" spell, talk to Diamondine:
To get the Bloody Koalak pet, talk to Emeralda:
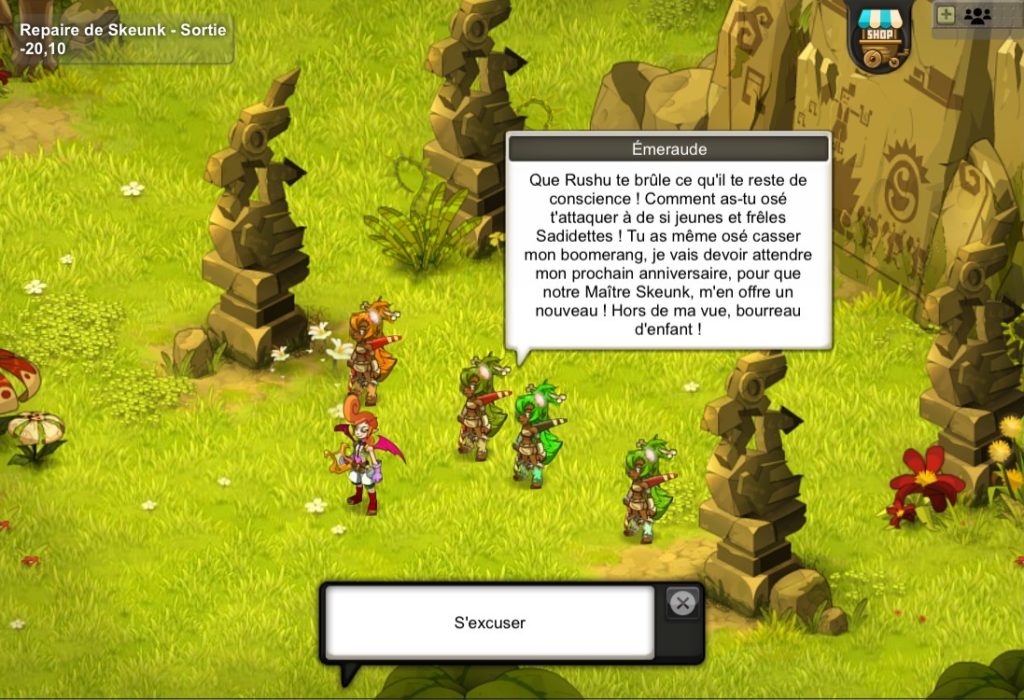
To leave the dungeon and collect your Kaliptus Dofus, talk to Skeunk.