Level:
- Sleepwalker version: 40
- Exhausted version: 90
- Tired version: 140
- Normal version: 190
Achievements:
- Sleepwalker version: Chrono · 9 turns; Statue; Duo · 20 turns
- Exhausted version: Chrono · 9 turns; First (Grasmera); Sticky; Duo · 20 turns
- Tired version: Chrono · 9 turns; Nomad; Blitzkrieg; Duo · 20 turns
- Normal version: Chrono · 9 turns; Zombie; Hardy; Duo · 20 turns
Quest depending on the version:
- Budding Heroes Never Doze Off: Sleepwalker version
- Budding Heroes Never Get Exhausted: Exhausted version
- Heroes Never Get Tired: Tired version
- Heroes Never Grow Weary: Normal version
Prerequisites: Grozilla and Grasmera's lair must be open in order to access the dungeons. The quest Cratère d'admission is also a prerequisite.
Important note: The dungeon can only be run once per day, starting at 7 a.m. Position saving is not available in this dungeon: if you die, you will have to make your way back through the dungeon's rooms.
To reach this dungeon, go to [-51, 40] on Vulkania Island and head up.
To enter this dungeon, show your passport to L.O. DuhBrane. You cannot teleport group members for this dungeon.
The way through the dungeon's rooms differs depending on your level:
- levels 1 to 50: go down
- levels 51 to 100: go left
- levels 101 to 150: go up
- levels 151 to 200: go right
You cannot access rooms that don't match your level. This guide shows the rooms for the highest level bracket, so the right-hand path.
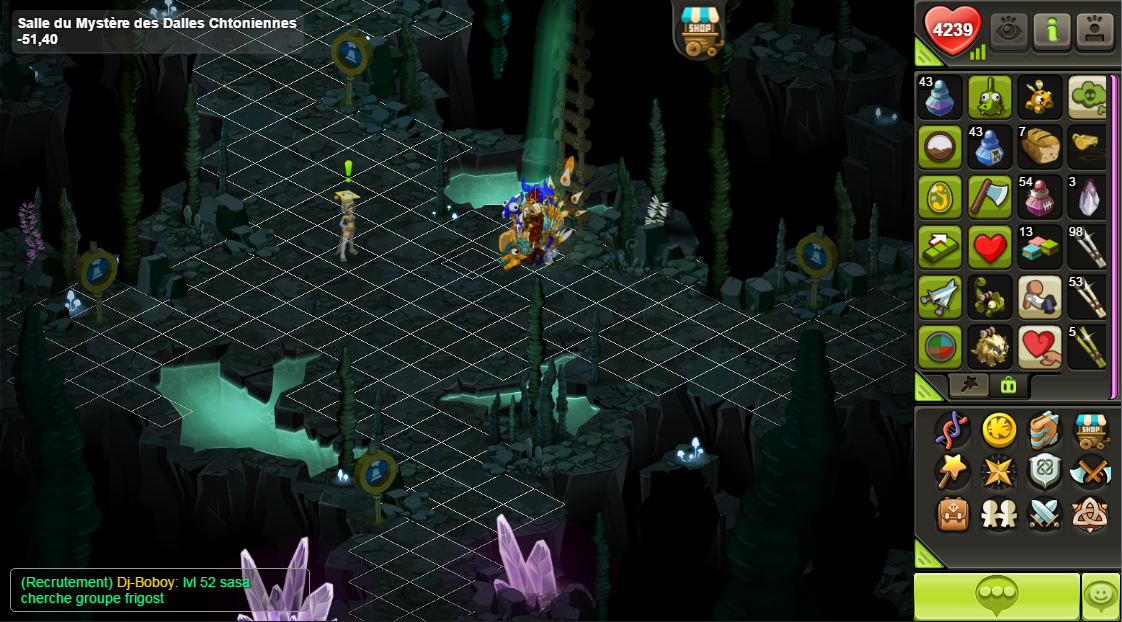
Cross the tile room that was used to open the lair and take the stairs.
Monsters
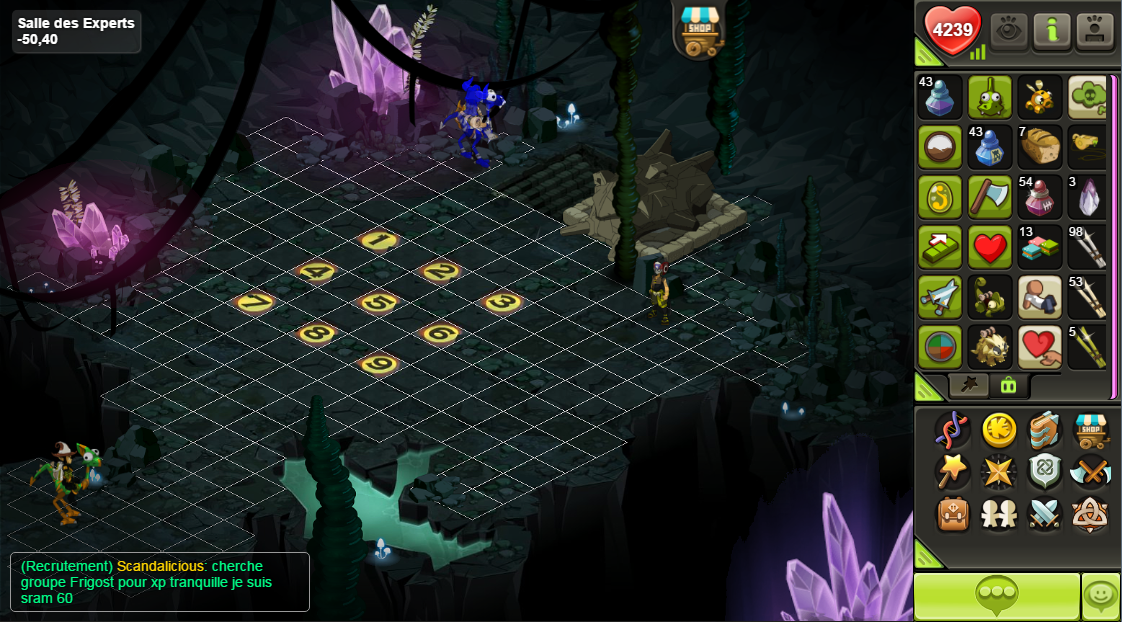
The rooms in this dungeon are not modular: they always contain the 5 Krokilles matching the chosen level bracket:
Krokille Vénérable Boueuse
Lvl 150 to 198
Spells
| Name | Description | Range |
|---|---|---|
| Entêtement Obsessionnel | Deals around 300 (Earth) damage and increases this same spell's damage for 3 turns. | 1 · Monocible |
| Éclosion | Applies a 500 Vitality boost for 3 turns. | 0 à 8 · Monocible |
| Rebond punitif | Teleports the Krokille Vénérable Boueuse to the targeted cell and deals damage around its arrival cell (1-cell cross). | 1 à 3 · Dégâts autour de la case d'arrivée (croix d'une case) |
Krokille Vénérable Humide
Lvl 150 to 198
Spells
| Name | Description | Range |
|---|---|---|
| Humectation | Deals around 300 (Water) damage and can steal 1 AP (2 on a critical hit). | 1 · Monocible |
| Hydrophobie | Applies a state to the Krokille Vénérable Humide that attempts to remove 2 AP (3 on a critical hit) from any entity dealing melee damage to it. | — · Monocible |
| Noyade | Deals around 200 (Water) damage and removes AP. | 1 · Monocible |
Krokille Vénérable Incandescente
Lvl 150 to 198
Spells
| Name | Description | Range |
|---|---|---|
| Agonie | Deals around 300 (Fire) damage and applies the unhealable state. | 1 · Monocible |
| Curée | Applies a state to one of its Krokille allies that triggers a large heal each time it takes damage in its preferred element. | 1 · Monocible |
| Recalcification | Heals targets in the area. | 2 à 5 · Cercle de taille 3 |
Krokille Vénérable Insipide
Lvl 150 to 198
Spells
| Name | Description | Range |
|---|---|---|
| Septicémie | Applies a poison dealing around 300 (Neutral) damage. | 1 · Monocible |
| Frénésie Élémentale | Applies a state to itself or an ally that grants a boost each time it is hit. The boost depends on the element received: - Earth: +50 damage (3 turns) - Fire: +200 shield points (3 turns) - Water: +2 AP (3 turns) - Air: +2 MP (3 turns) | 0 à 8 · Monocible |
| Alanguissement | Attempts to remove 4 MP and removes 40 MP dodge. | 1 à 11 · Monocible |
Krokille Vénérable Sèche
Lvl 150 to 198
Spells
| Name | Description | Range |
|---|---|---|
| Sècheresse | Deals around 300 (Air) damage. | 2 à 6 · Monocible |
| Oeil du Cyclone | Pushes back the entities adjacent to the Krokille Vénérable Sèche (1-cell cross) | — · Croix d'une case |
| Souffle Percutant | Pushes the target back 5 cells and grants the Krokille Vénérable Sèche a pushback damage bonus (1 turn). | 1 · Monocible |
Rooms
Room 1
Krokille Vénérable Boueuse
Krokille Vénérable Humide
Krokille Vénérable Incandescente
Krokille Vénérable Insipide
Krokille Vénérable Sèche
Room 2
Krokille Vénérable Boueuse
Krokille Vénérable Humide
Krokille Vénérable Incandescente
Krokille Vénérable Insipide
Krokille Vénérable Sèche
You are now in the transition room; by talking to G.O. Malikila you can choose which version of the bosses you want to fight.
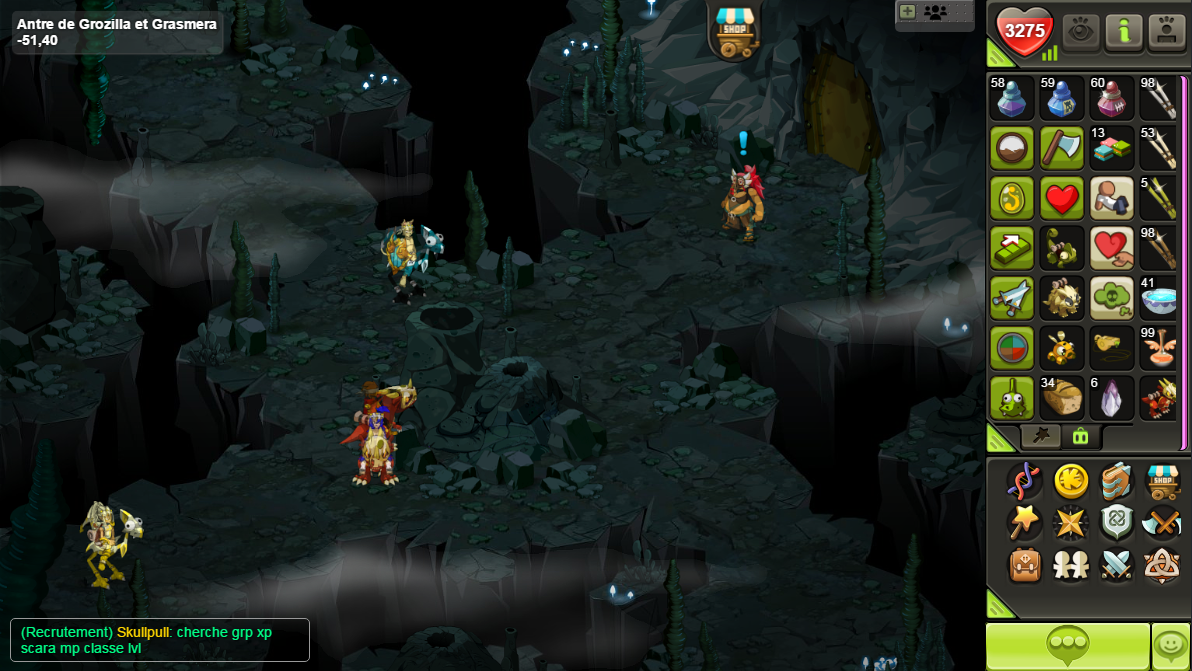
Tip: if you want to study the placement or practice, you can access the Boss room (without the bosses, obviously) by going up the left-hand path.
Room 3
As a reminder, the level of each version is as follows:
- Sleepwalker: 40
- Exhausted: 90
- Tired: 140
- Normal: 190
Boss
Difference in health points:
Sleepwalker version: 1600 to 2400
Exhausted version: 4800 to 7100
Tired version: 10000 to 15000

Grasmera ★
Lvl 400 to 800

Grozilla ★
Lvl 400 to 800
Dungeon mechanics
It also has the following spells in its normal version:
- Fission - 1 AP: can only be cast if the other boss is dead, and automatically kills one character once per turn.
- Peas in a Pod - 2 AP: spell cast on turns 5, 10, 15, etc., which puts Grozilla and Grasmera into the Critical Mass state. This state allows Grozilla to cast the following spell on its next turn.
- Chain Reaction: if Grasmera is more than 2 range away from him, he applies the Apocalypse state to Grasmera
It also has the following spells in its normal version:
- Fission - 1 AP: can only be cast if the other boss is dead, and automatically kills one character once per turn.
- Apocalypse - 2 AP: can only be cast if Grozilla has applied the Apocalypse state to Grasmera. This spell lets everyone on the map know who's the daddy and ends the fight by killing your entire team.
One more useful piece of information: both monsters are in the Heavy state.
To sum up, for all versions, the most important thing is to always check the states on your character:
- If you are in the Meteoroid state, make sure Grozilla won't hit you with his Gravity spell (5 range)
- If you are in the Tyrannised state, make sure Grasmera won't pull himself to you with his Magnetism spell (5 range in a line)
Both of these cases will cancel your turn, and even against the weakest versions of the bosses, you can quickly end up not playing any of your turns and dying.
For the final version of the boss:
- To avoid losing one character per game turn, try to kill both bosses during the same turn.
- Make sure the two monsters are within 2 range of each other on turns 6, 11, 16, etc., otherwise your whole team will die.
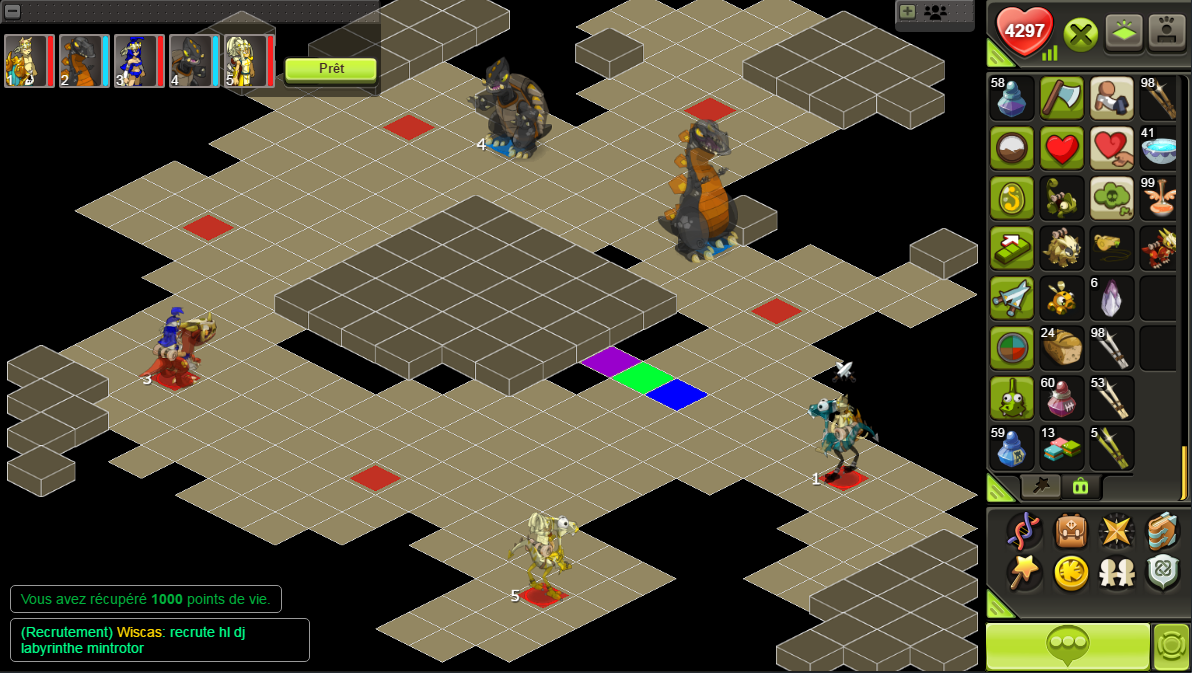
The most common strategy is to place the two monsters side by side at the top of the map (the two green cells in the example below, for instance), blocking them with two damage dealers while keeping the support characters behind.
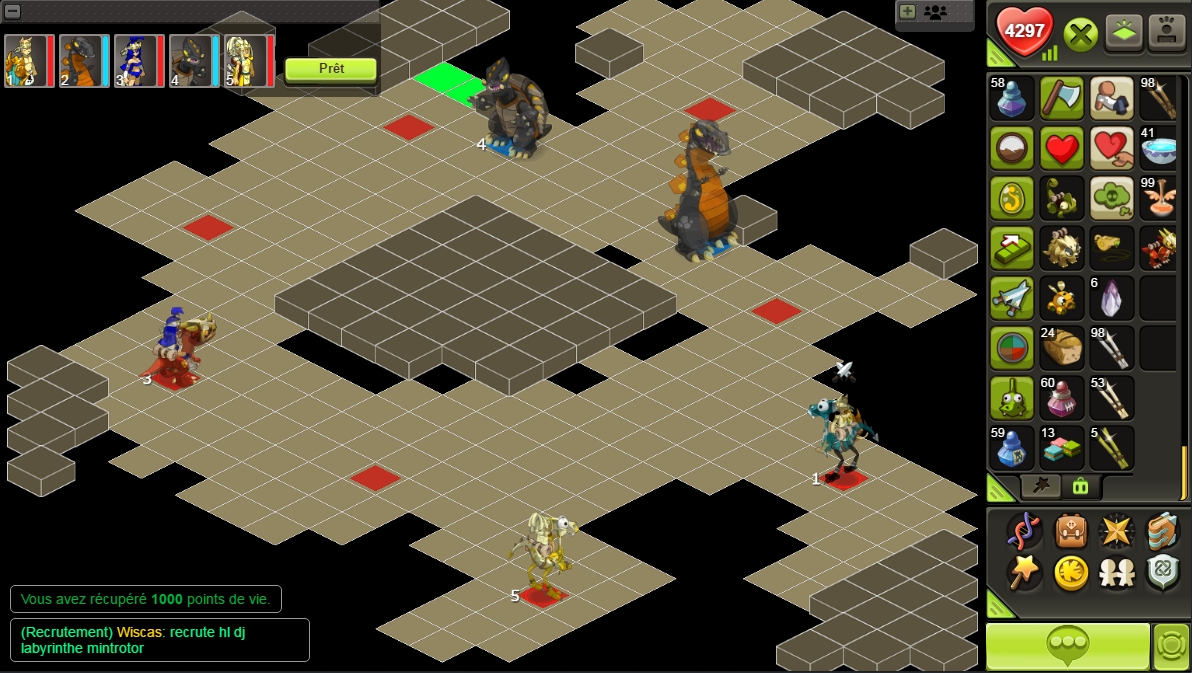
It is also possible to place Grasmera on the isolated cell (in purple) by the central pillar and block him with Grozilla (in green). To do this, you need a character (in blue) to tackle Grozilla. This strategy is very useful for the Duo and Zombie achievements of the final version.
Achievements
Impertinence
- To complete the Hardy achievement, the best strategy is the one described above, blocking G&G in the corner in the middle of the map, for example. Since only 3 cells are free around Grozilla, you will need some characters able to swap places with an adjacent ally, or a positioning character to handle it (otherwise, doing this achievement with 3 players is also an option)
Zombie
- To complete the Zombie achievement, the best strategy is to fight from a distance with ways to push the bosses back to avoid their damage, but also to position them to avoid the one-shots on turns 6, 11, 16... Classes with good mobility that doesn't rely on MP boosts are preferable but not mandatory.
Duo
End of the dungeon
Once the dungeon is complete, you will find yourself directly outside the Pinki Crater.